Quick ‘n Easy Caramel Syrup
Quick and easy is the phrase of the day. Allow me to use it in a sentence for you
BECCA! Please QUICKLY show us how to make an EASY caramel syrup recipe that can be used to add huge amounts of flavor to baked goods and beverages.
WHOOP, here it is! 🙂
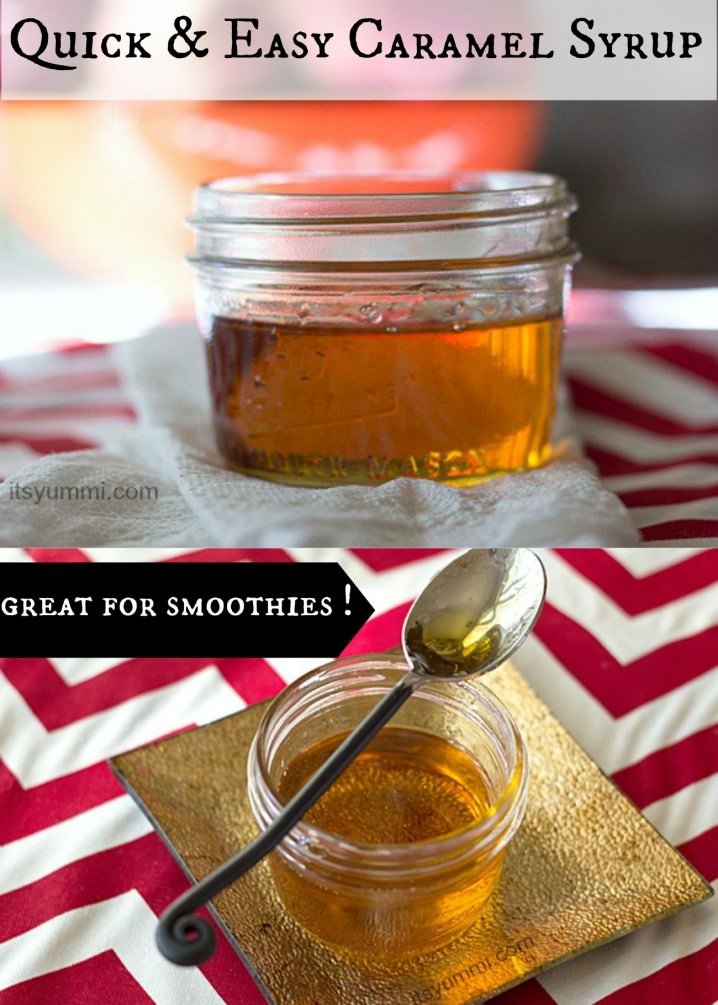
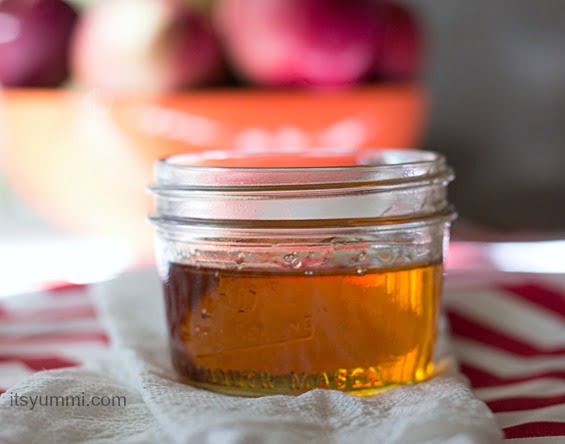
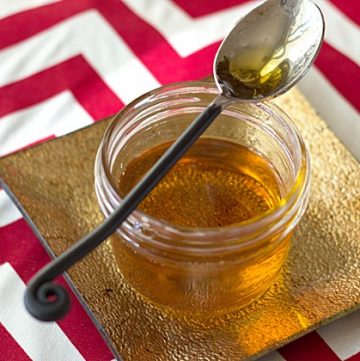
Please note: This is NOT caramel sauce. Caramel sauce typically has cream added to it after cooking… nor is it butterscotch, which is made by adding cream AND butter. This is a clear, deep flavored, translucent syrup. Dare I say it’s beautiful?
This, m’loves, is a syrup. The kind you could pour over pancakes and French toast. Or it can be added to your favorite coffee or tea for a perfect caramel latte. Or be bold and adventurous and use it in place of simple syrup when you’re preparing a cocktail! Although I don’t drink alcohol anymore, this salted caramel whiskey sour would have made for some INCREDIBLY lovely nights back in my drinking days!
This syrup is also the kind that looks EXCEPTIONALLY gorgeous when drizzled over cakes LIKE THIS ONE, or added to cakes like THIS ONE (wowza, I need to make this cake, SOON!)
Since it keeps indefinitely when properly covered and stored in the fridge, you may as well go make yourself up a batch of it now. You might even want to double the recipe, because you never know what else you’ll want to make with it before Wednesday.
Simple Caramel Syrup
Ingredients
- 1 cup granulated white sugar
- 6 ounces water divided
Instructions
- Place sugar and 2 ounces (1/4 cup) water into a small, heavy-bottomed saucepan over high heat. Whisk gently until sugar has dissolved and mixture comes to a rolling boil. If necessary, use a wet pastry brush to remove any sugar crystals from the sides of the pan.
- Allow mixture to continue cooking over high heat, WITHOUT STIRRING, until it has reduced slightly and becomes golden amber in color.
- Stand back from the pan slightly and carefully add remaining 4 ounces of water. CAUTION: The mixture will pop and sputter as you do this, so please be careful. (Keep a bowl of cold ice water nearby to plunge your hand into should it become burned)
- Reduce heat to medium and continue cooking until mixture has reduced slightly and is sticky between your fingers (Let the syrup cool slightly before it touches your fingers so that you don’t burn yourself!)
- Transfer liquid to a heatproof container. If covered and refrigerated, syrup will stay good indefinitely.


I love the recipe and the beautiful caramel syrup. Can this be used to glaze vegetables? Like for roasted butternut squash?
Ohhhh, Isabel, what a wonderful and delicious sounding idea! The caramel syrup is relatively thin, so I think it will soak up nicely into the butternut squash if you baste it on prior to cooking. If you’re looking for more of a serving sauce, just known that it will have the consistency of a thin pancake syrup.
Thank you so much for rating the recipe!
My god just made this so yummy i was scared about adding the rest of the water but no didnt burn myself which is a plus for me. I will be back to see other recipes
It makes me so happy to hear this, Cara! Isn’t it a great feeling to accomplish something that you didn’t think you could do?!
Thank you so much for your comment and for rating the recipe!
This recipe is magic. So simple, yet so effective. I’ve used it several times and noticed a few things. So, here’s a couple tips: the two water stages have two very distinct purposes. The first step is to get your color (and thusly flavor) correct. The darker the color, the richer the flavor. Anyone who’s dabbled in caramel making had surely encountered burnt caramel. But I prefer mine slightly darker than what’s in the recipe picture. What I do as to not burn the caramel in the first step is when I notice the caramel turning golden, I turn the heat down to medium low and let it slowly achieve the perfect dark amber that I’m looking for. Then turn the heat back up to medium for the next step (the caramel will still be boiling, so all necessary precautions should be taken). The second step is for consistency. This part is trickier since the caramel will thicken substantially after it cools. While in the pot, the consistency you want should feel like stirring heavy cream. Still thin, but think enough to give a little residence while stirring. You’re gonna think it’s too soon to remove from the heat, but it will thicken to a perfect syrup. Also, since the water is completely evaporated in the first step and nearly completely evaporated in the second, the amounts don’t matter. I prefer to use a little more water than the recipe just to give it more time to cook (especially in the second step as there is often a thick residue on the sides that can be redistributed by slowly melting back in). Finally, I use a long water bottle for pouring and a metal lid as a shield in my off hand to minimize splatter when adding the water for the second step. I’ve never made a mess or gotten burned.
This recipe truly makes a perfect syrup. Good luck making it your own!
Thank you for taking the time to write such a fabulous review Christopher! Fantastic pointers. So glad you’ve been enjoying this recipe 🙂
Great recipe, very easy and came out perfect in the first try. I only saw Christopher’s review after I made it, but that makes sense and I will try that next time for more ease of making it. Maybe add his comments into the recipe?
Read the recipe, but not good enough apparently, at first ended up with almost the same sugar. ???.
Re read it and added 2 large cups of water again to start the boiling again, left it boiling till it almost burned.
Turned out it was delicious dark amber colour that , with the two more cups of water made beautiful medium coloured amber syrup.
Thanks for the support in sharing this recipe